Petite Visuals
Wedding Photography
When we say a shot looks ‘cinematic’, what exactly do we mean? It’s a hard thing to define. We all know it when we see it, but what is it? It has to do with many things; the depth of field, the framing, the colours, the lighting. It’s not something you can put your finger on, but there are certain shots that just scream ‘cinematic’.
I specialise in cinematic wedding photography. My work mixes documentary style photography (capturing events as they happen, raw, untouched and unforced) with cinematic techniques and imagery. I love movies of all kinds; cinematic composition is what brings out emotions in me. My love of films influences my own work on a daily basis. My goal is to make you the hero of your own wedding blockbuster!
I’m going to talk through some photography tips for cinematic photos and explain a few tricks of the trade. You’ll also discover why ‘cinematic’ images are so pleasing to us, and what I try to incorporate into my own work at every opportunity.
There’s hardly anything more pleasing to eye than symmetry in an image. For some reason, human beings love looking at a balanced, even visual. Think Wes Anderson, think Stanley Kubrick. They both use symmetry as a trademark in their films and in fact, some of the most memorable shots in cinema are symmetrical compositions.
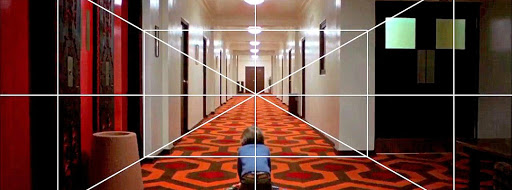
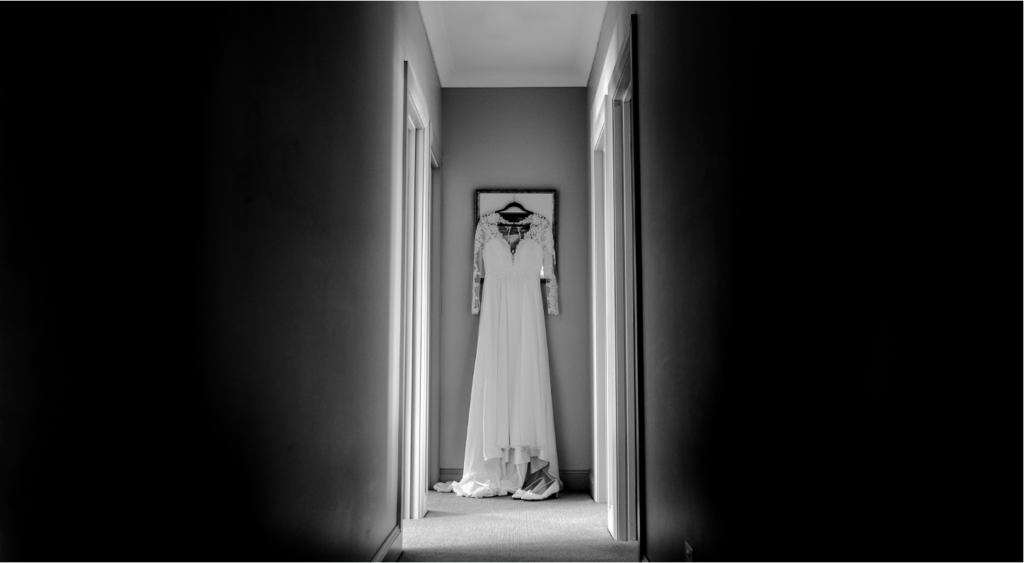
You can really create some mind-blowing ‘hero’ shots by searching for instances of extreme symmetry around the shooting location. It’s everywhere if you know what to look for. I have always been attracted to extreme symmetry and I think I always will be. Scouring my surroundings for the tangent lines, exacerbating perspectives. My eyes are always instinctively looking for any symmetry I can take advantage of.
Lighting is such a defining factor in cinema that often you can tell who directed a piece just by looking at the lighting. Of course there are many in-depth discussions with the cinematographer before a lighting approach is settled on, but many directors have looks that gravitate towards. Think J.J Abrams and his blue light flares, David Fincher with his chiaroscuro or George Miller and his bleached-out overexposure.
Beyond the visual approach, most of the technical lighting composition you see in a movie is thought-out by the cinematographer, who implements specific lighting techniques. One good example is Roger Deakins, who is a big fan of practical and motivated lighting (this also happens to be one of the reasons he’s my fave cinematographer). Practical lighting technique basically involves any light (natural or artificial) which is available on set – this also happens to be what a documentary or wedding photographer would use too.
Just like a documentographer (is that a word? I’m claiming it!), the cinematographer will accent or dim the lights on set to make practical lighting work best for the shot. It will be moved around to light up a wider area of the shot, or brought closer to accentuate. As it’s part of the set, it doesn’t matter if it’s in shot or not. You’ll often see different light sources that mix together; natural light from a window and light bulb lit up inside, all in one shot. This is a key component of cinematic imagery and one that also goes a long way towards creating cinematic wedding photos.
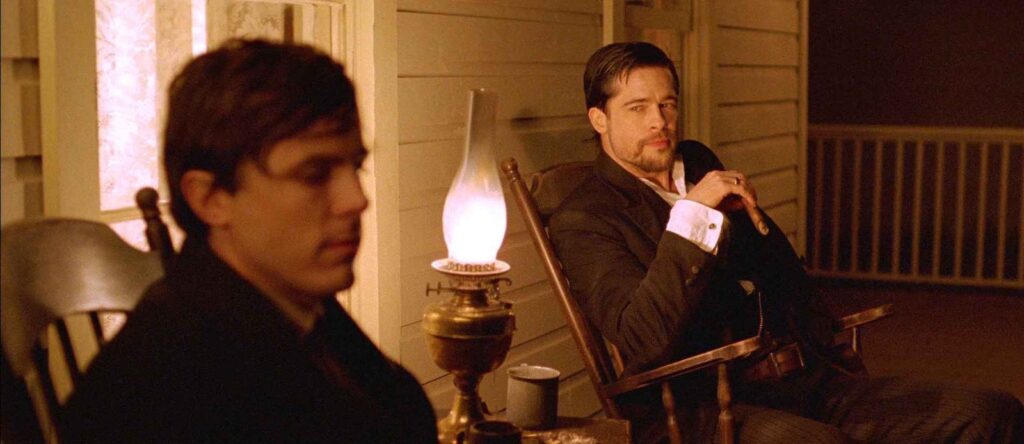
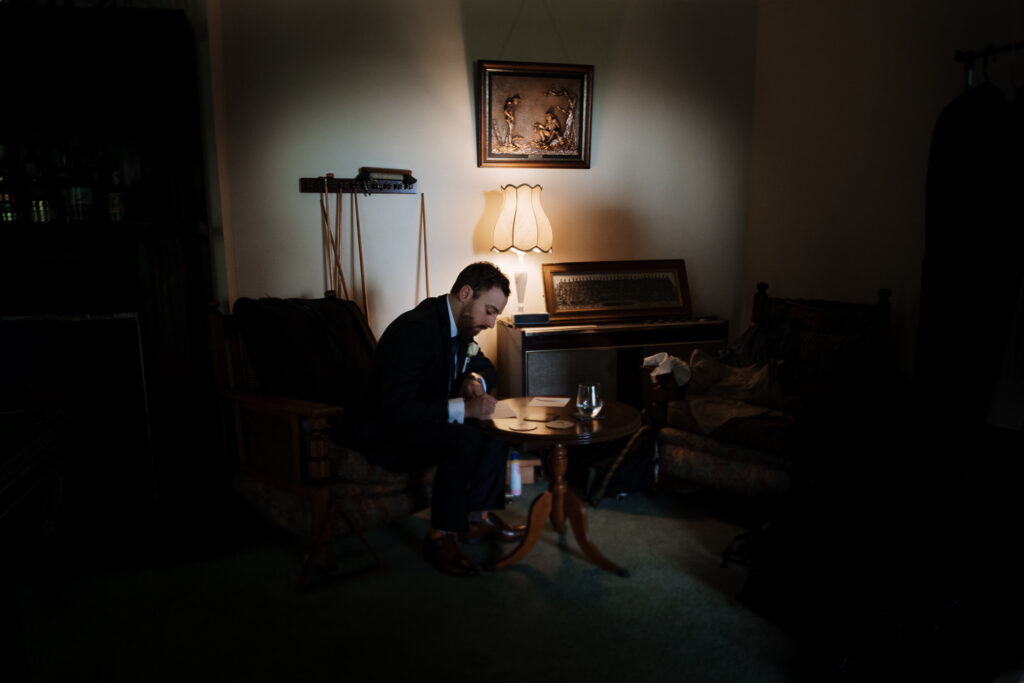
There’s also another technique I like that gives a cinematic look to images: hard and low key lighting. This technique was no doubt inspired by baroque and renaissance paintings by high profile artists like Caravaggio. It’s when directional light is either hard (strong definition and high contrast), or soft (less contrast and more diffusion).
The lighting is usually at some kind of hard angle to the subject and purposefully creates defining areas of shadows and light within the same shot. In painting terms this is called chiaroscuro and the term is still used today in cinema. I love using this for portraits with side light, or on a wider shot to create silhouettes, or even picking out details with a directional light source.
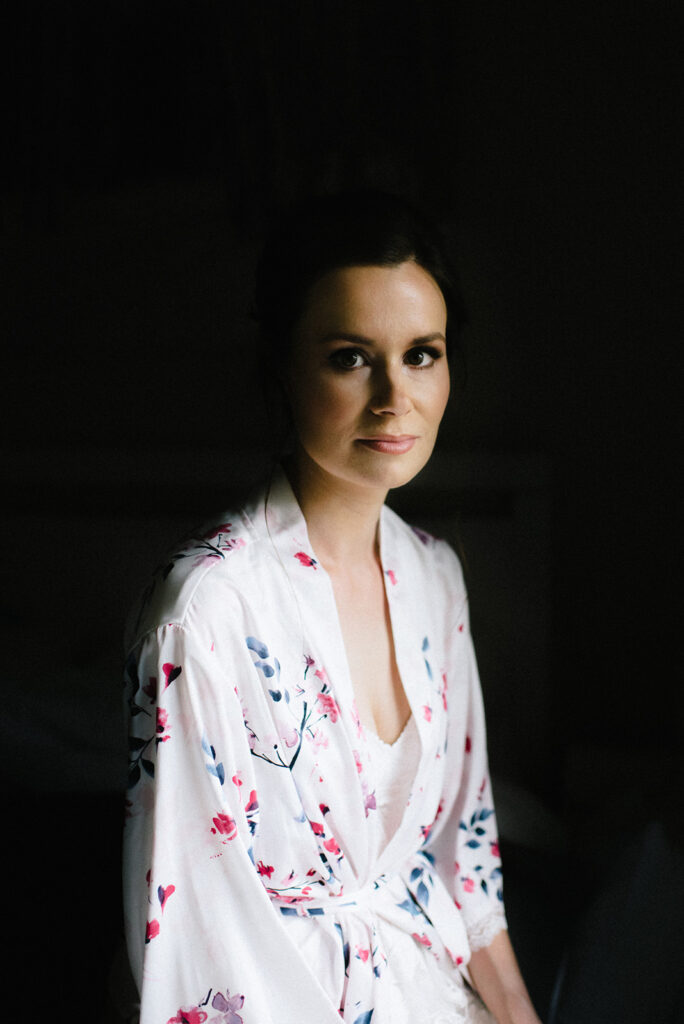
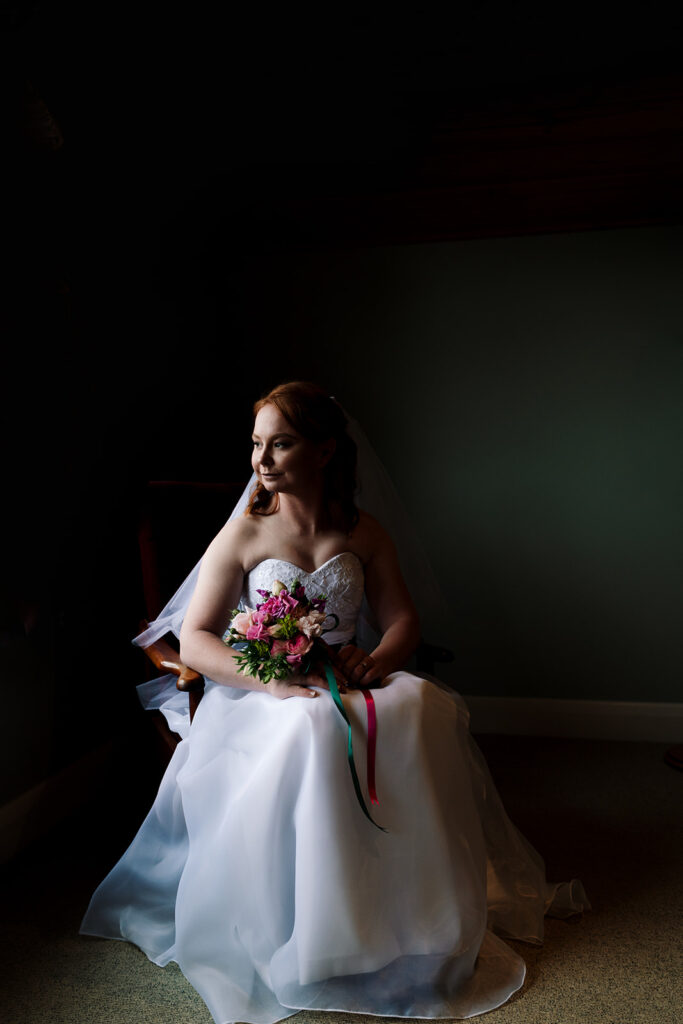
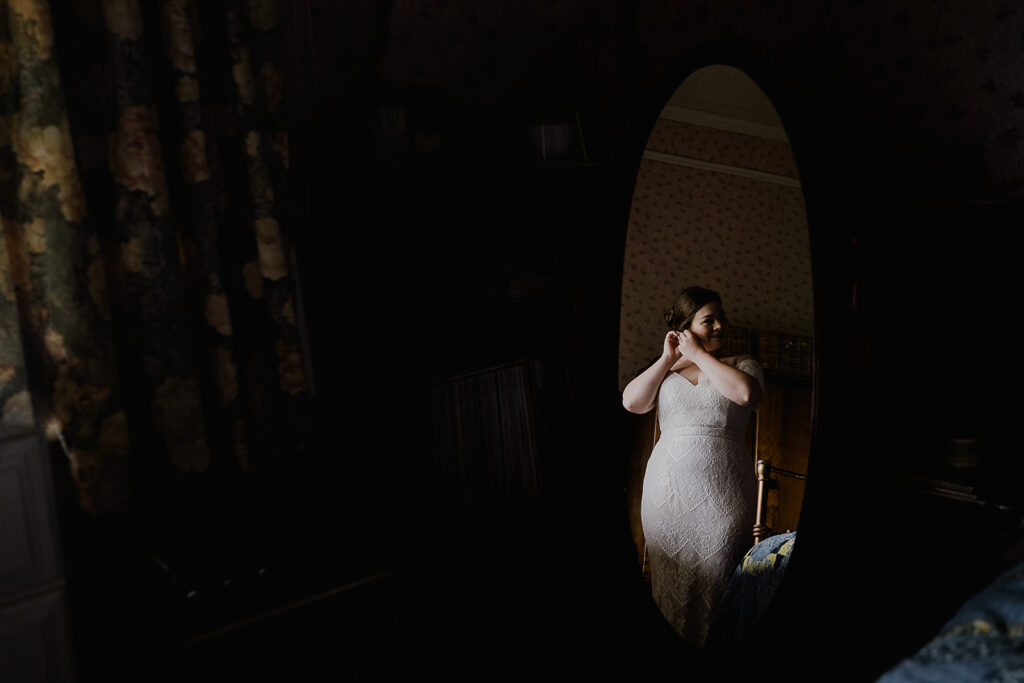
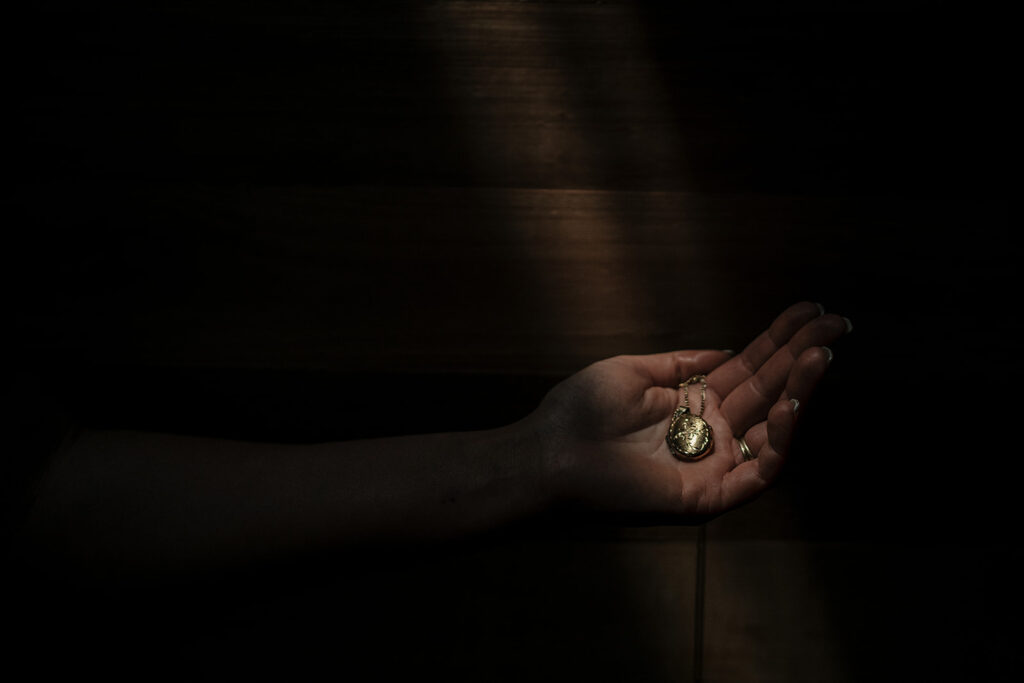
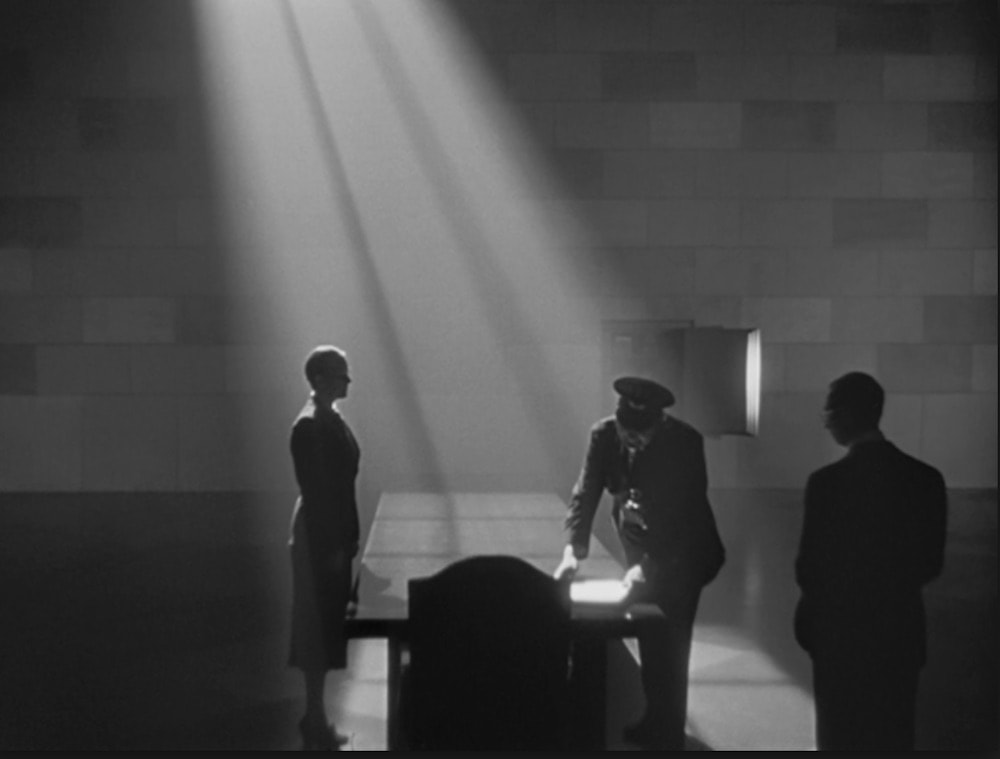
In summary; practical light elevates the scene and certain details of the shot. It’s particularly useful for storytelling shots. Hard and low key light creates a dramatic effect and usually looks awesome on portraits. Both are great photography tips for cinematic photos.
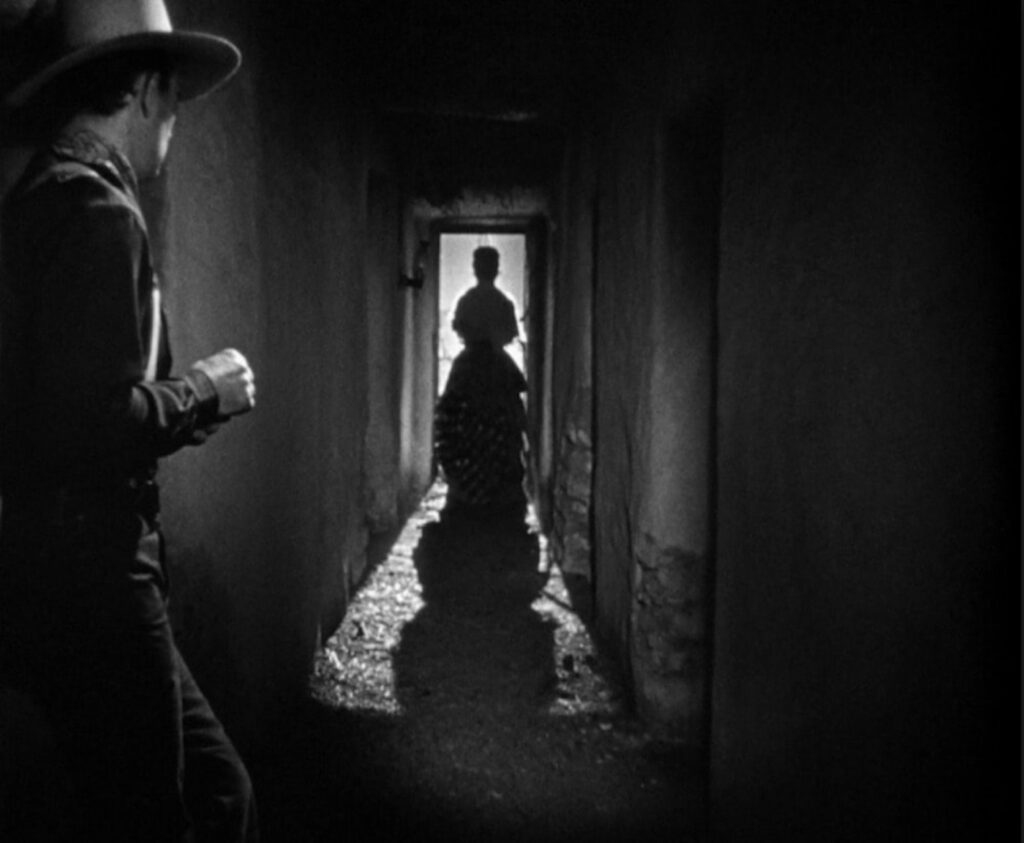
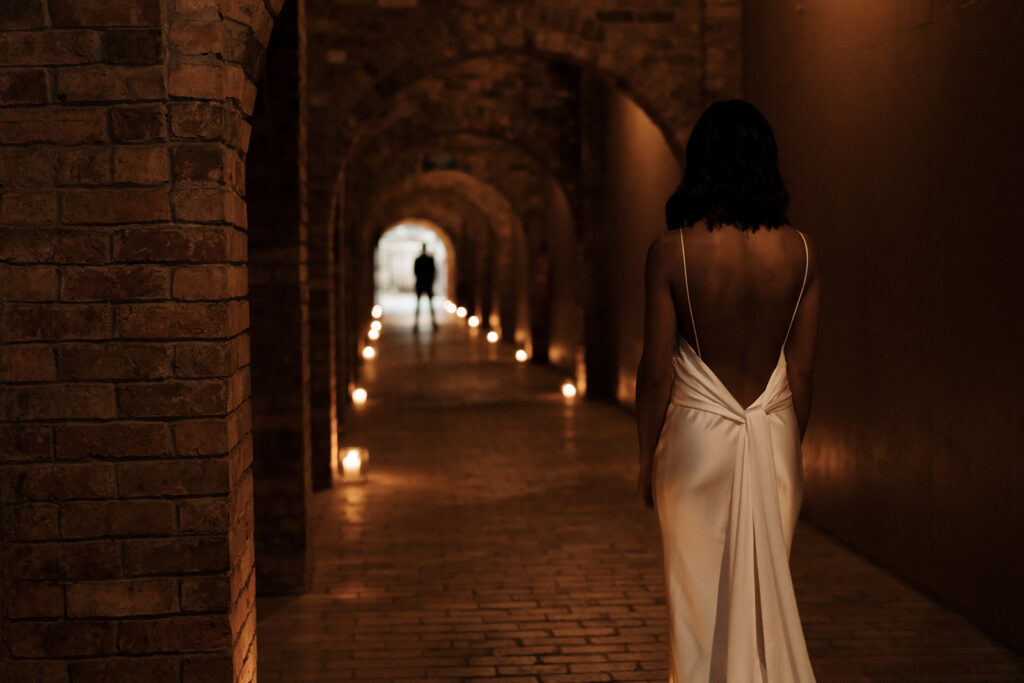
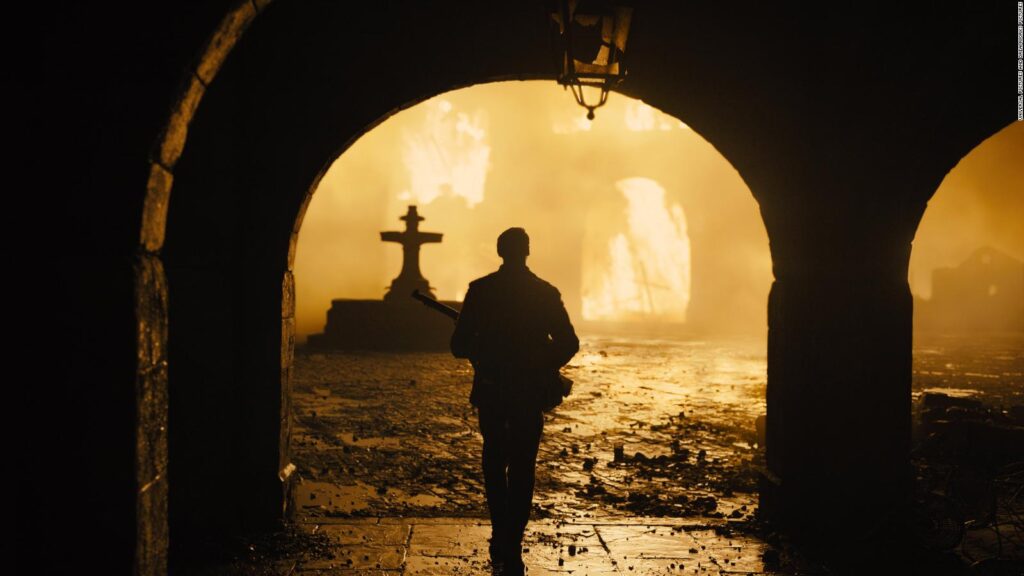
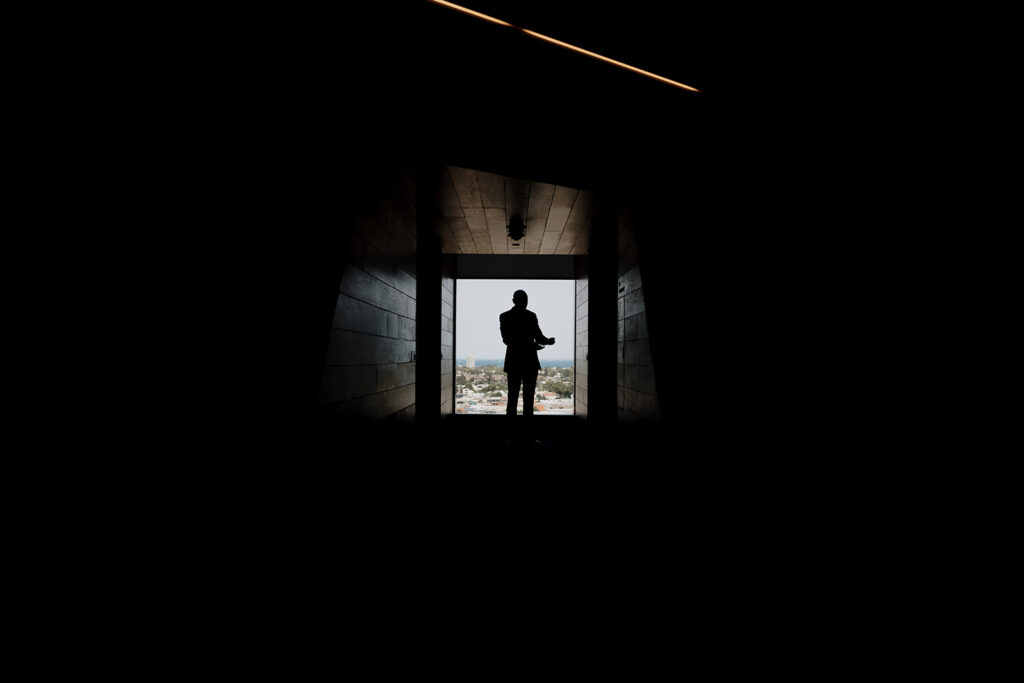
Going hand in hand with symmetry and lighting is the use of space. A great composition makes for a cinematic shot. In fact, great composition involves stylistic use of both symmetry and lighting. Here’s a perfect example; the opening shot of Moonlight just about sums it up.
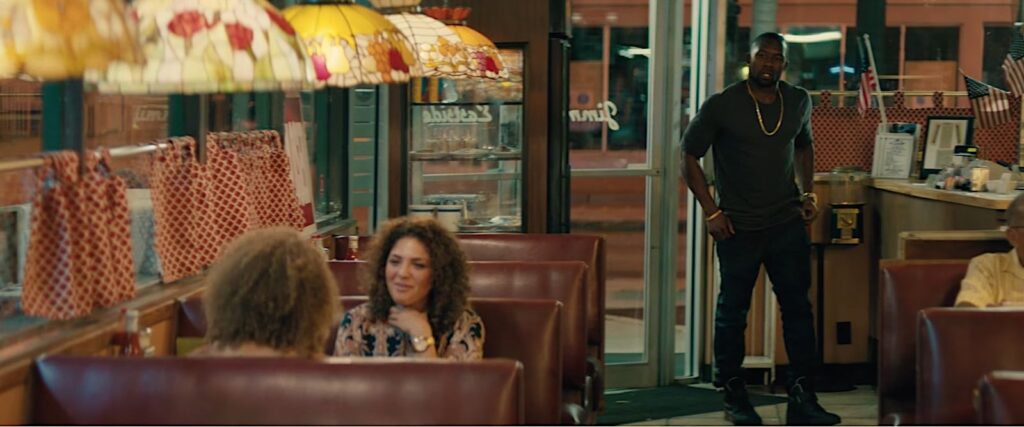
You need to think about the use of space and how lighting can complement it. Adding symmetry is a lovely extra layer that brings that ‘wow’ factor and makes images pop. Your goal is to guide the viewer’s eyes across the image using space and composition. If you use space well and respect the rule of thirds and quadrants (sorry did I lose you there?), you can also tell more than one story in one shot. This happened a lot in the movie Drive which used the space so well that it could tell multiple stories in one shot, using clever composition and quadrants to do so.
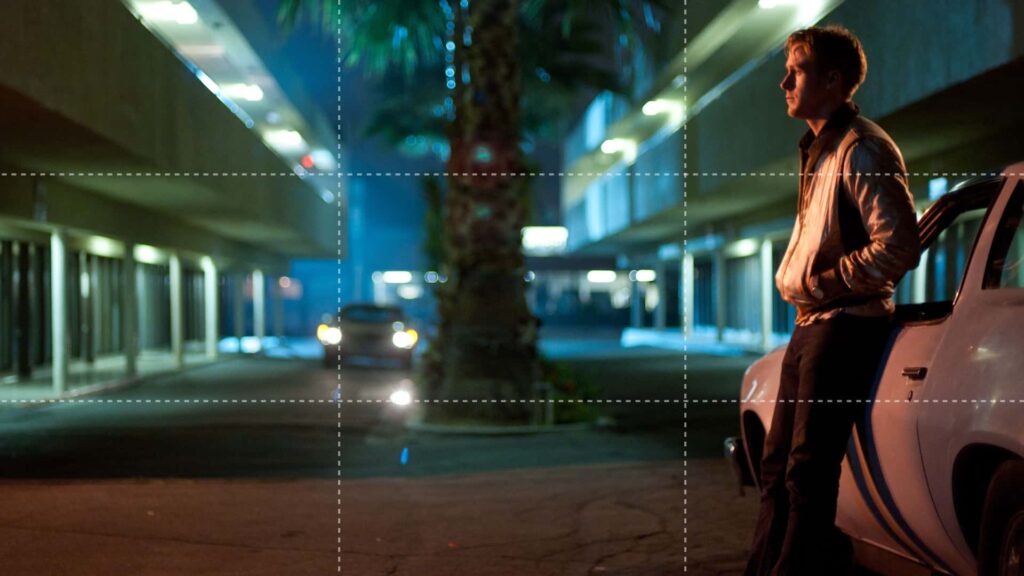
There’s an urban myth roaming around the photographic and cinematographic world that says that the more the eyes move across your picture, the more the viewer gets invested in the shot. I am not sure if that’s entirely true, but I love the storytelling of such shots and the idea of telling a story in a single image; ‘tableaux vivants’ as Oli Sansom likes to call them.
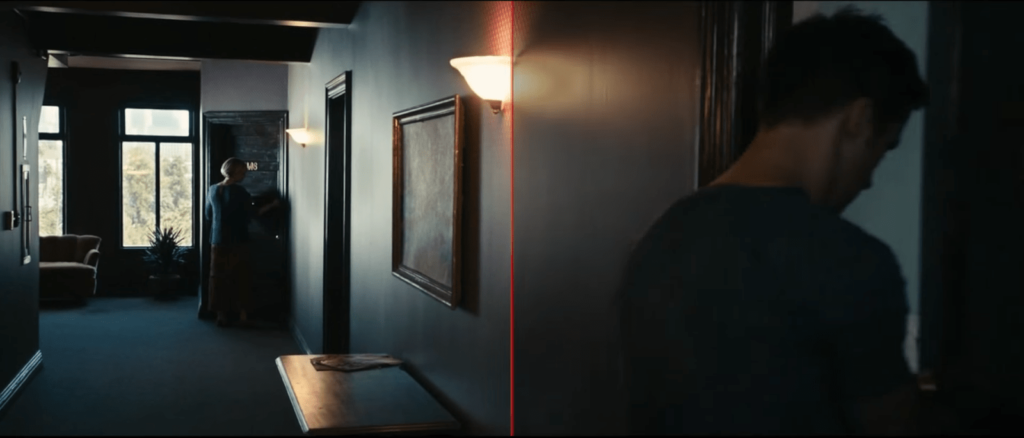
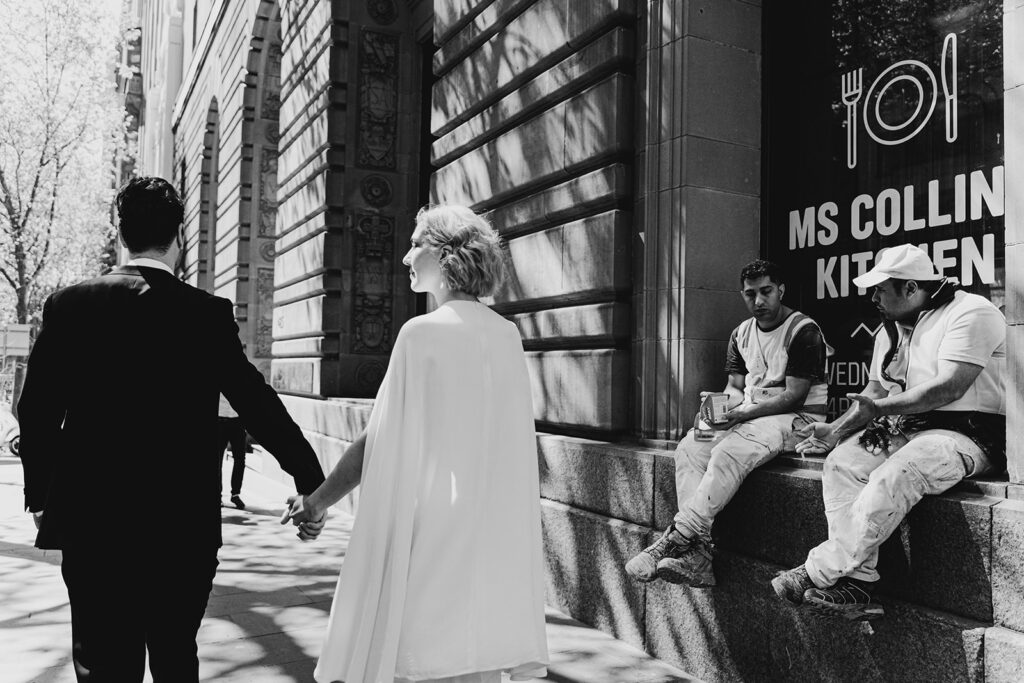
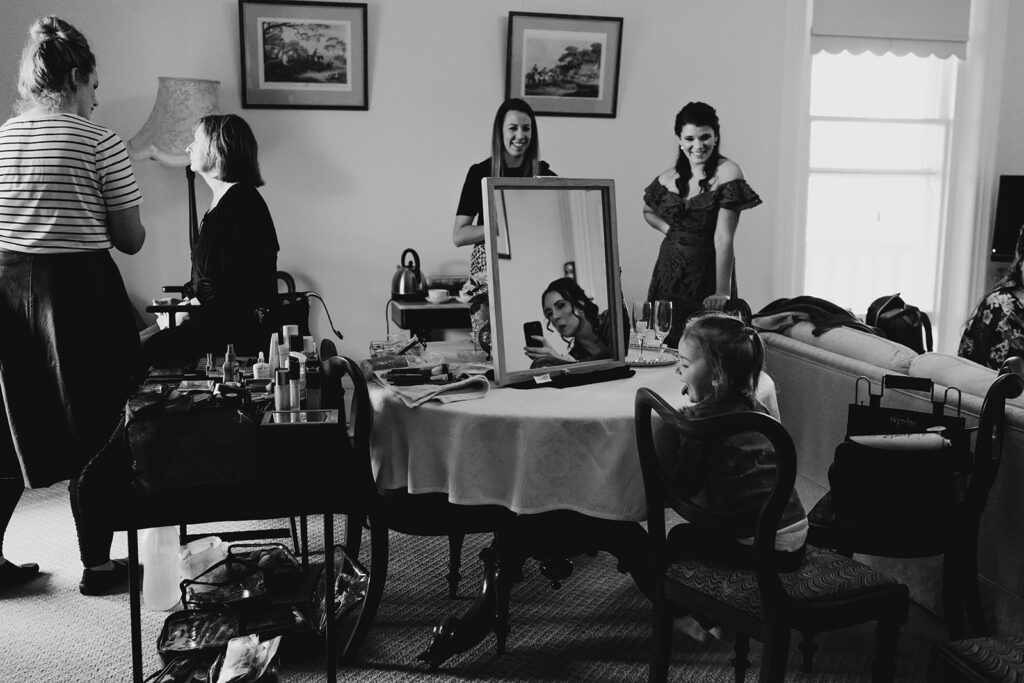
Below are more examples of shots using lighting and space to create cinematic shot:
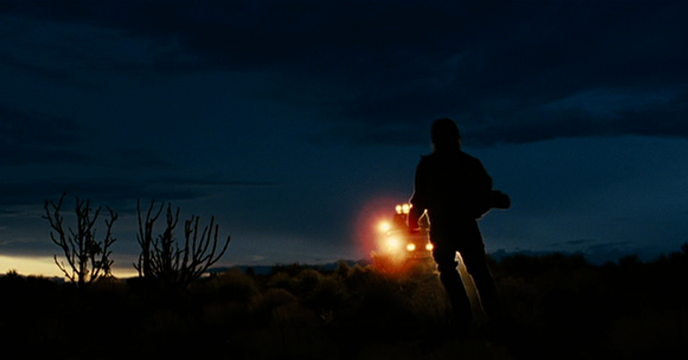
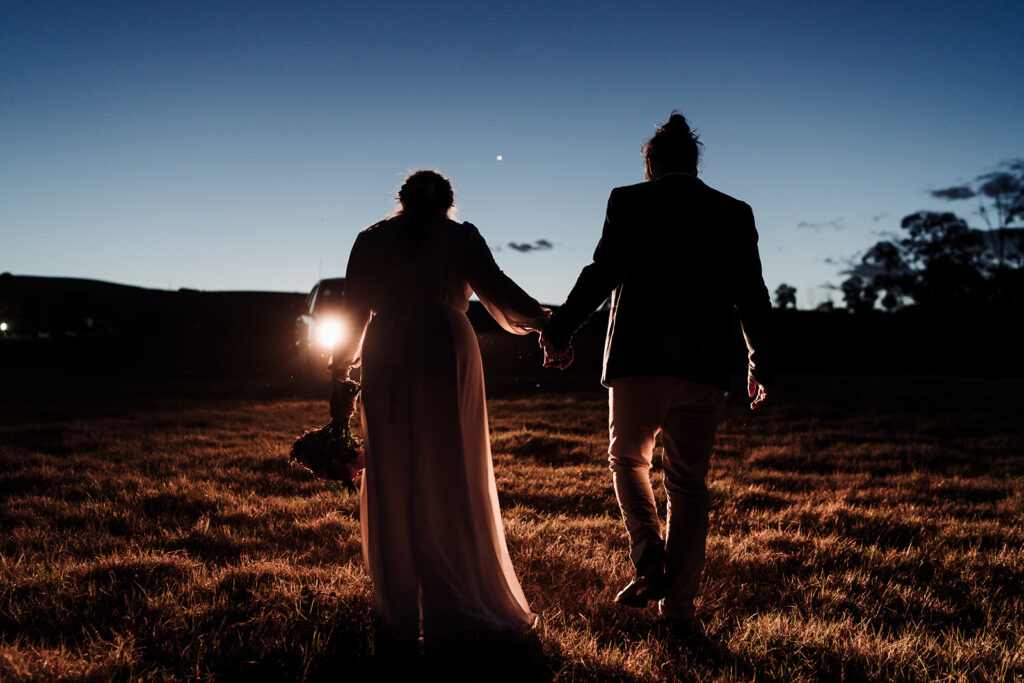
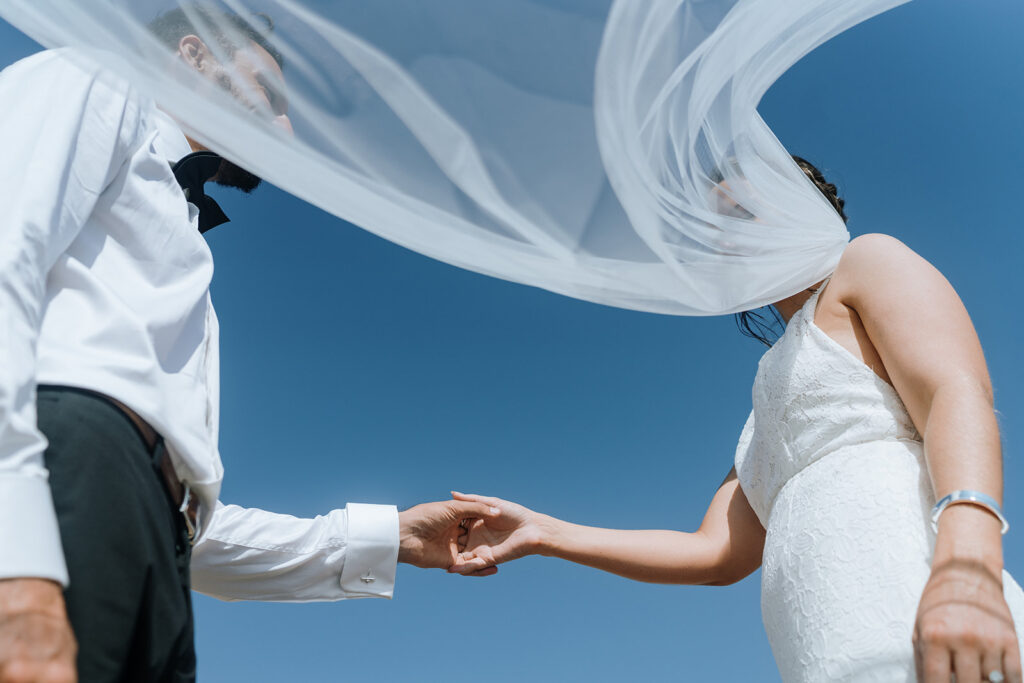
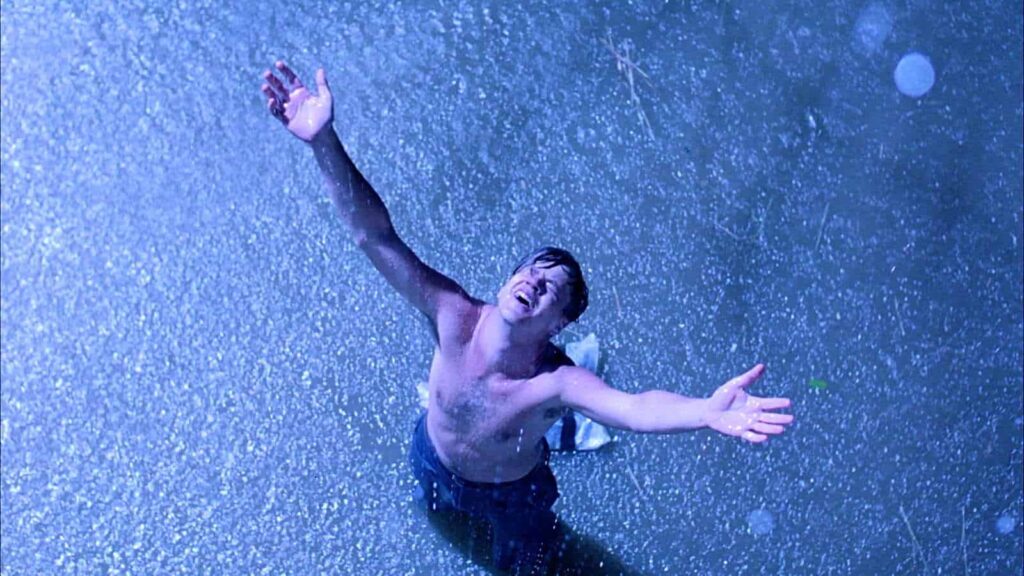
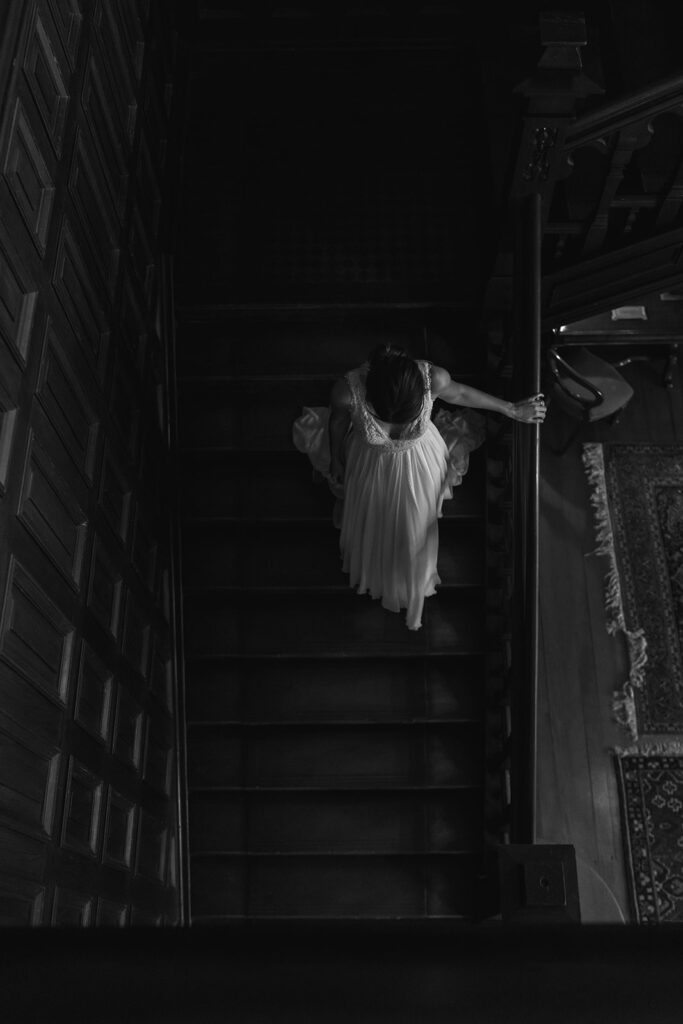
Offering another angle to shots can also render the cinematic look to pictures. Dramatically high, or dramatically low, just changing perspective (beyond the standing eye level that we often shoot at) is what can make a difference.
Thinking outside the standard eye-level point of view can also give a certain dramatic weight and look to shots. Dramatically high or dramatically low are often utilised by filmmakers, but even just changing perspectives beyond the standing eye level that we often shoot at can make a huge difference.

These insights are a starting point on how to create cinematic wedding photos. Once you know the basics of these tips and tricks, you can start employing them in your photography right away! Take your shots from the mundane to the cinematic, whatever you’re shooting! If you want to talk cinema or wedding photos, just get in touch!